| .. | ||
| images | ||
| Magnet Case | ||
| Magnet Case - with button preferred | ||
| Back_Lid_NORMAL_v1_NoSupp.stl | ||
| Back_Lid_THICKER_v1_NoSupp.stl | ||
| CCatch v3.stl | ||
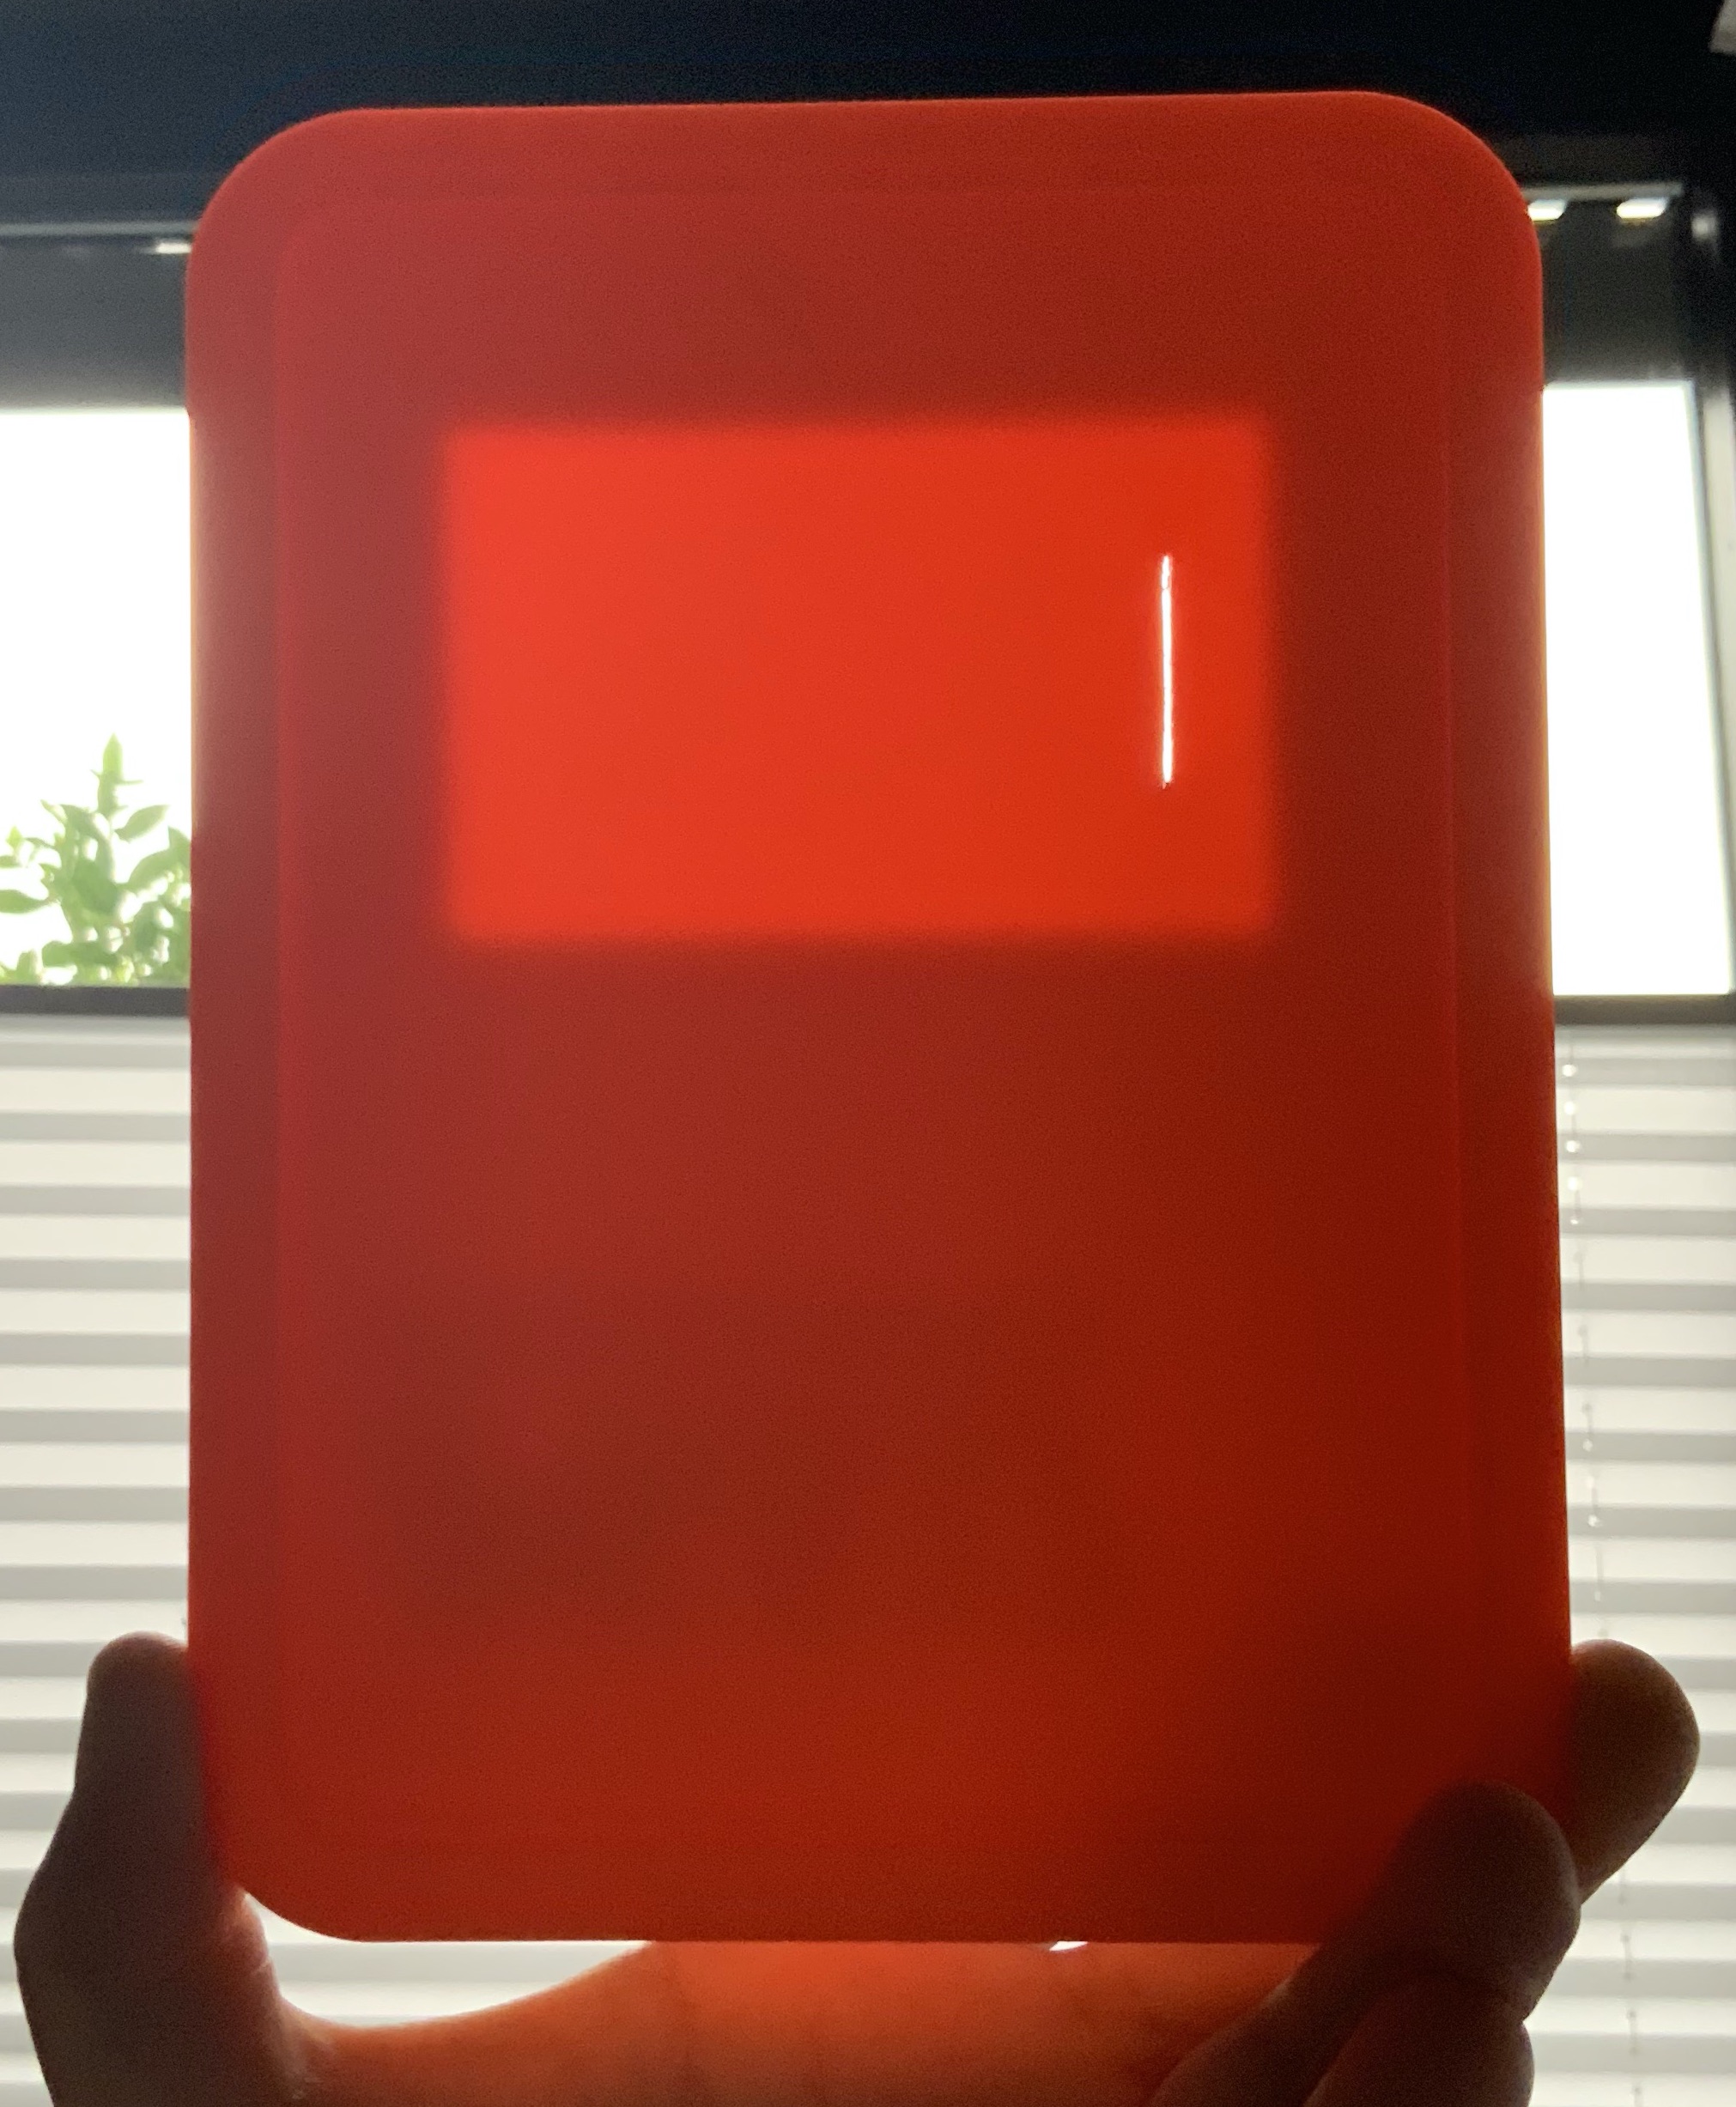
| Front_Glass_v1_NoSupp.stl | ||
| just_logo.stl | ||
| optional_Mounting_Rim_v1_NoSupp.stl | ||
| README.md | ||
| Shell_v1_NoSupp.stl | ||
| Top_Lid_No_Logo_v1_NoSupp.stl | ||
| Top_Lid_with_Logo_v1_NoSupp.stl | ||
| transport_screen_cover.3mf | ||
3D Printed L-ATM Case PE-Edition
Below files can be used to print a case, which lowers your overall costs. The models can be printed without any supports.
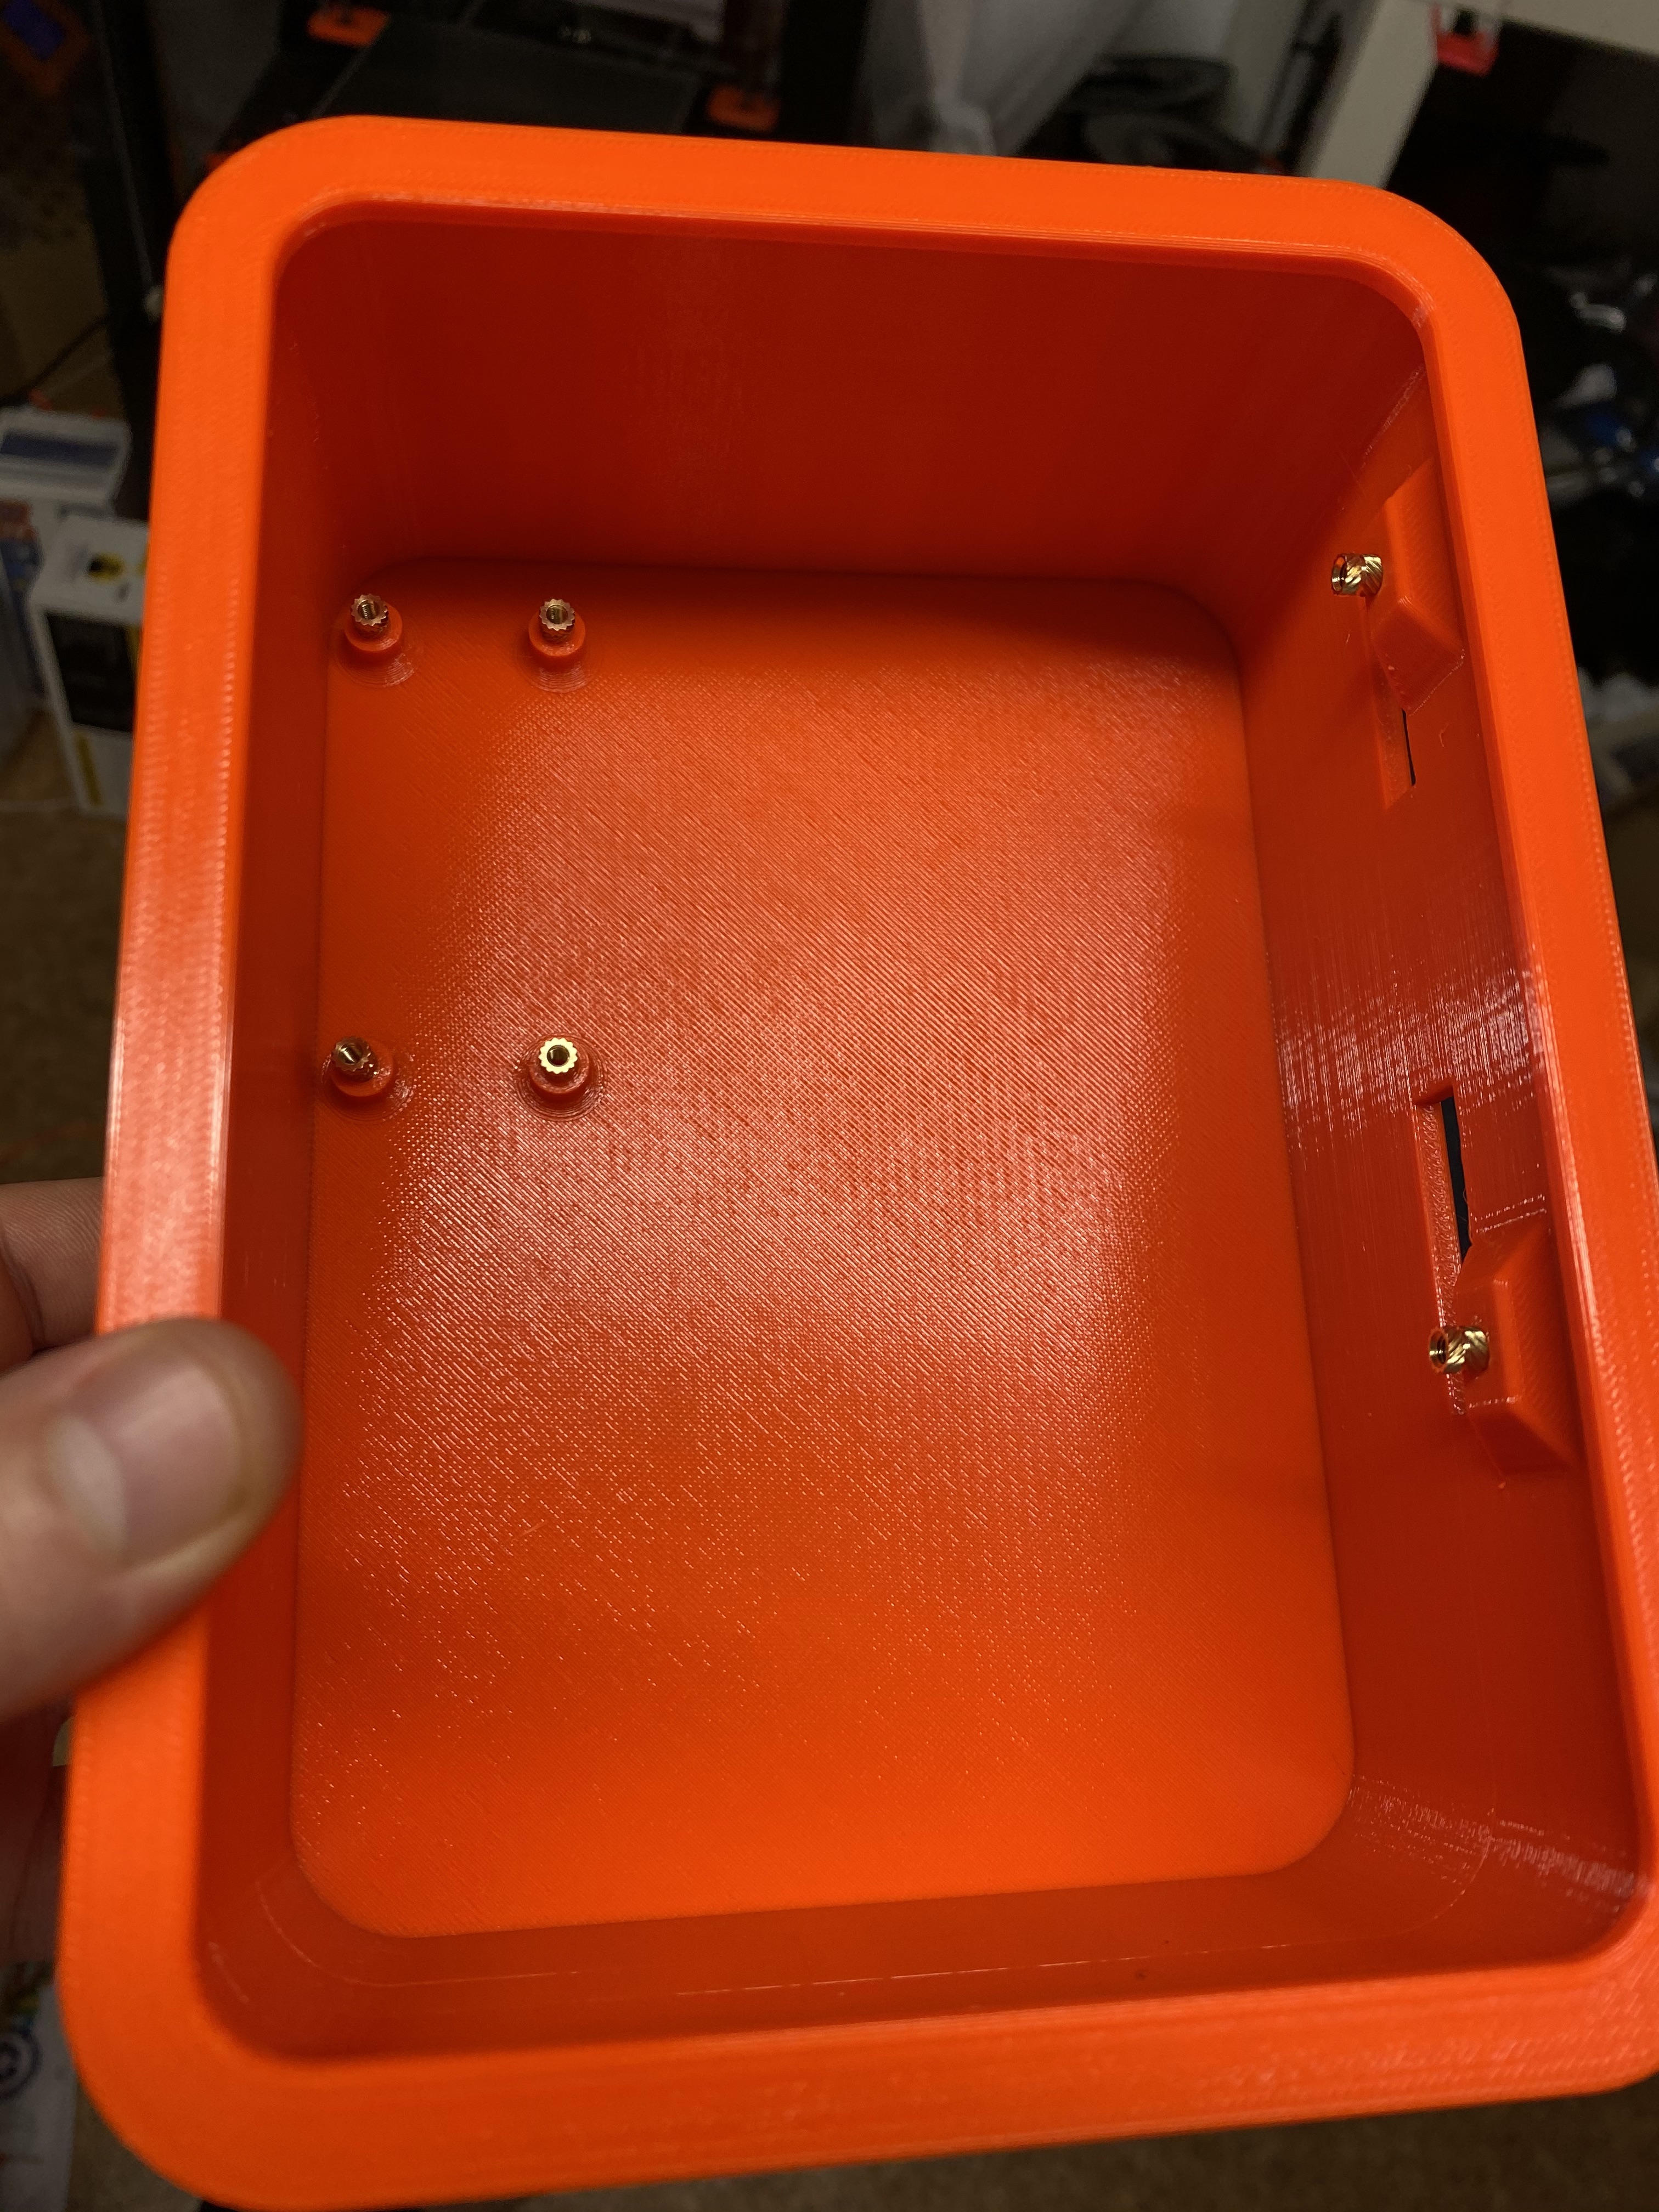
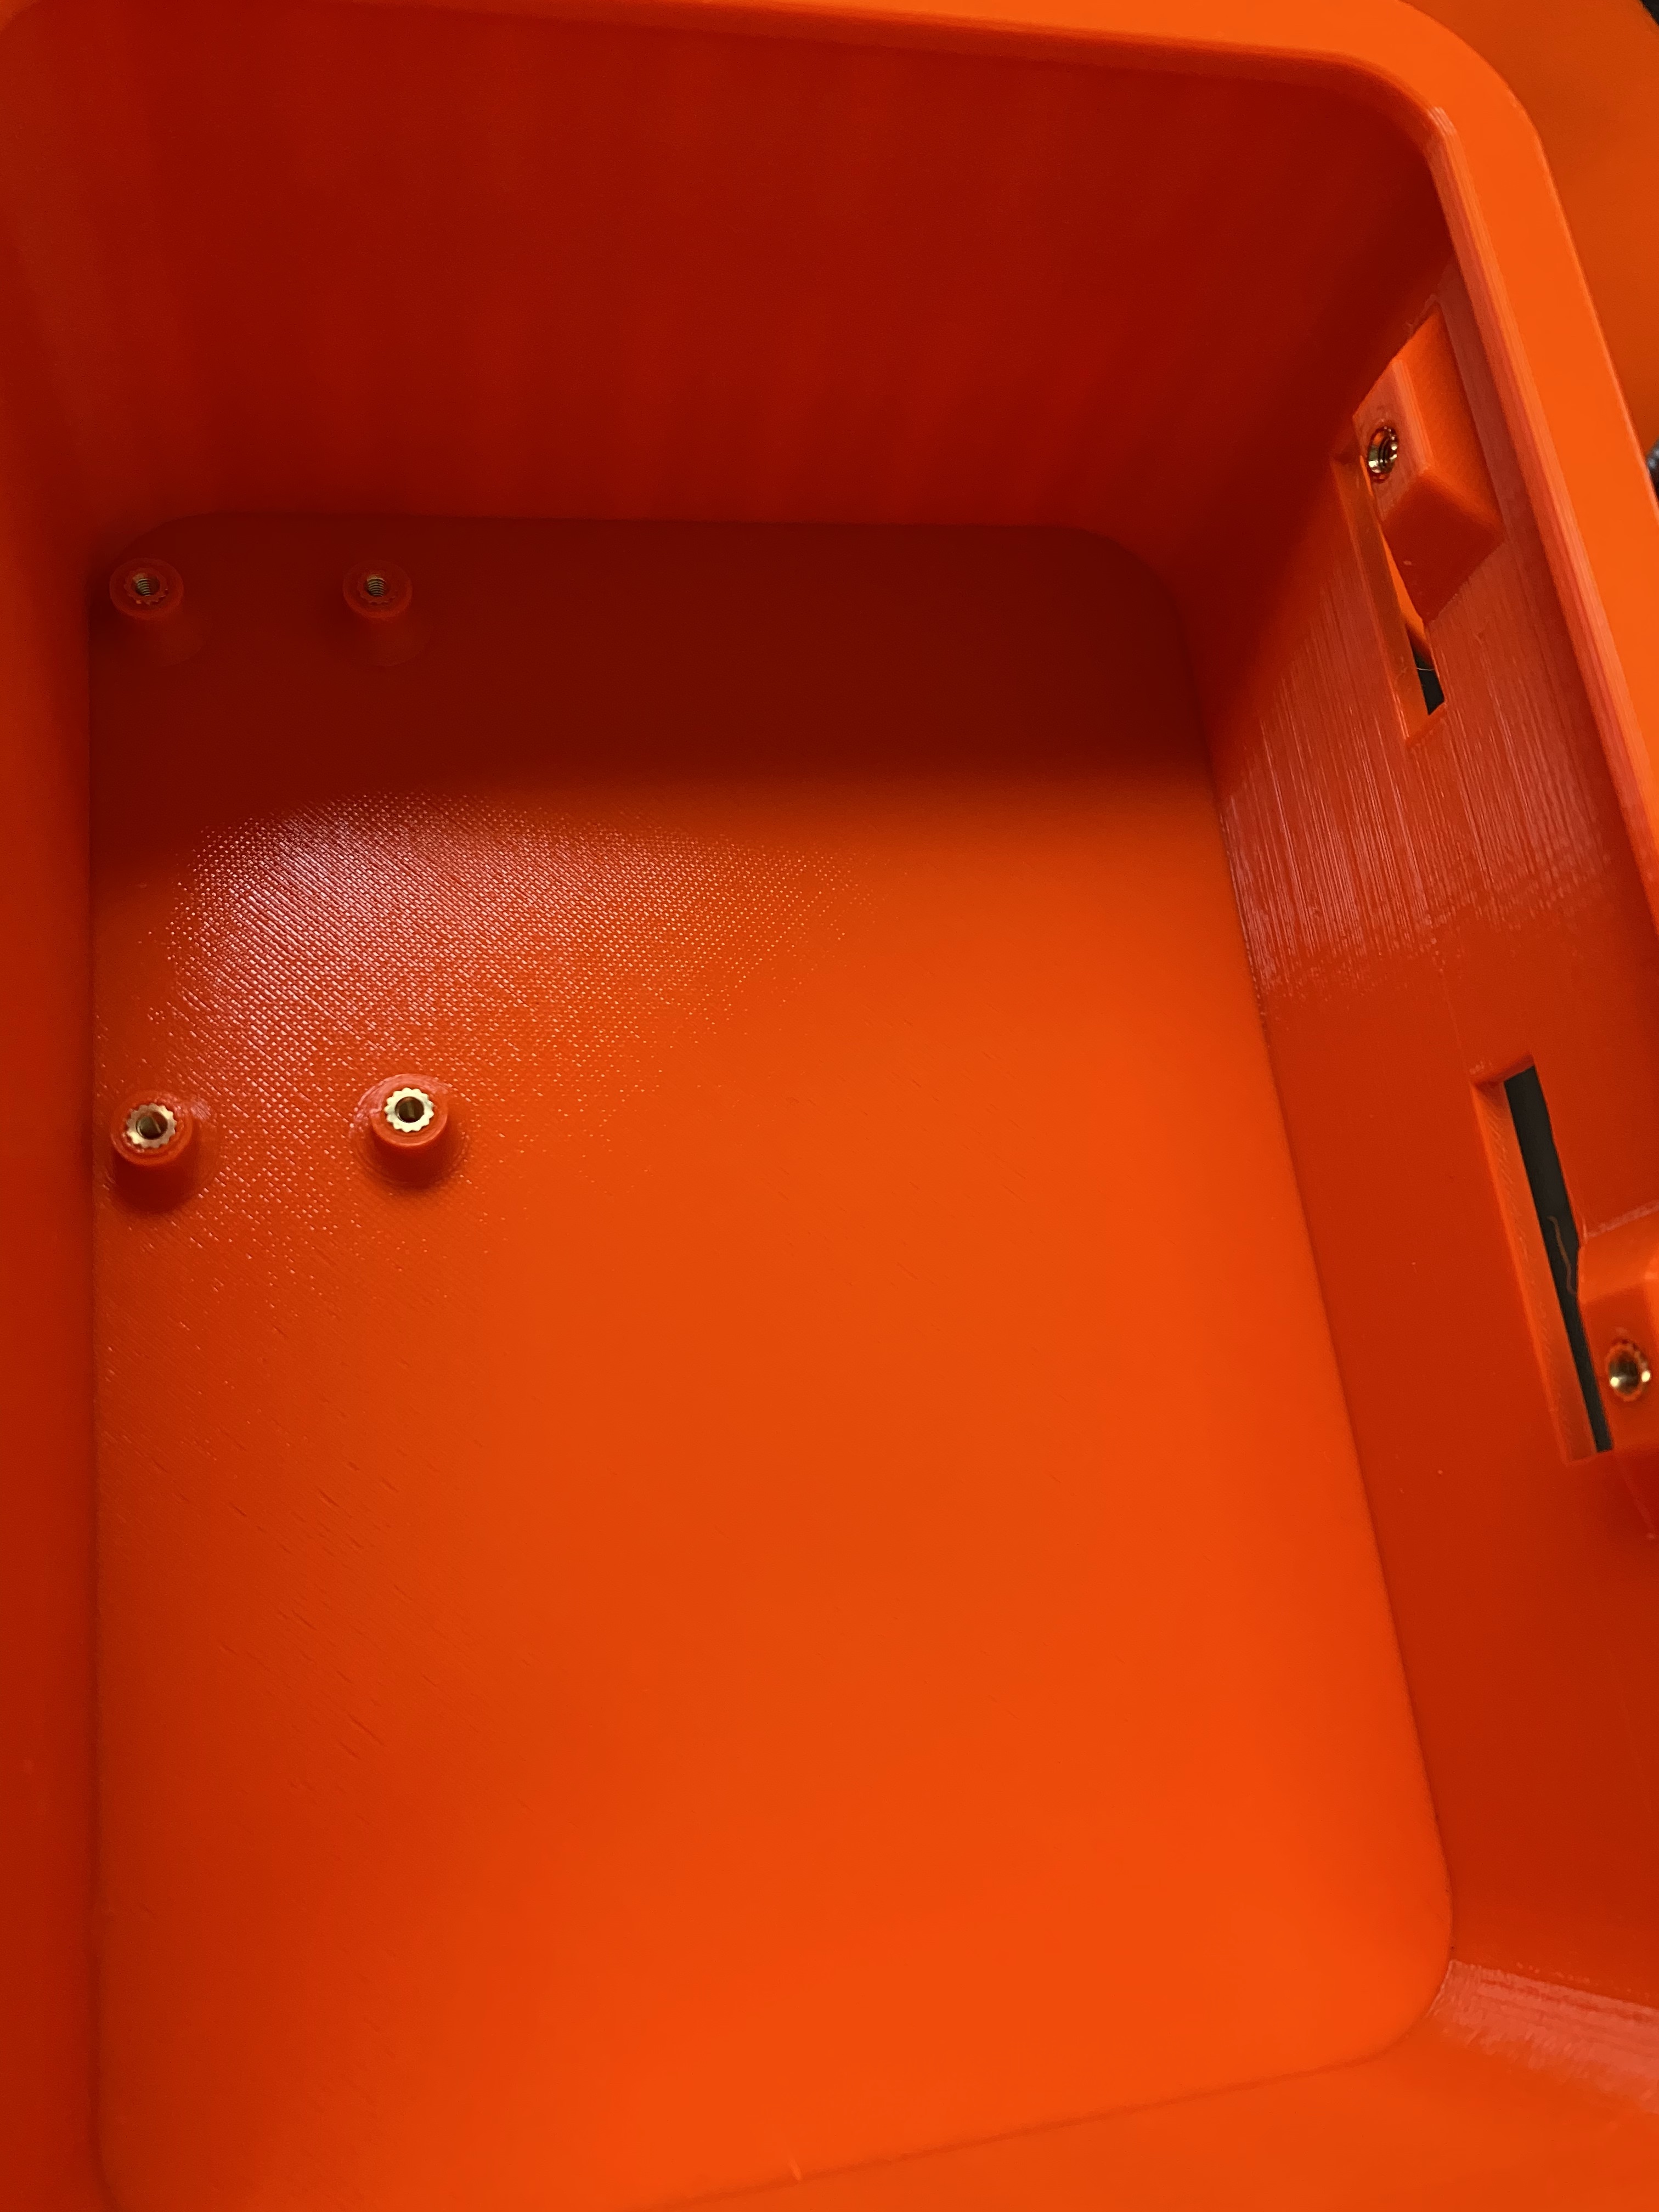
This is the first version and is designed to be used with inserts to mount the Coin-Acceptor as well as the Rasbperry-Pi Zero. For the Coin Acceptor use M3 inserts (Amazon), for the Raspberry-Pi M2.5 (Amazon) inserts are needed. The Lids holds by friction fit.
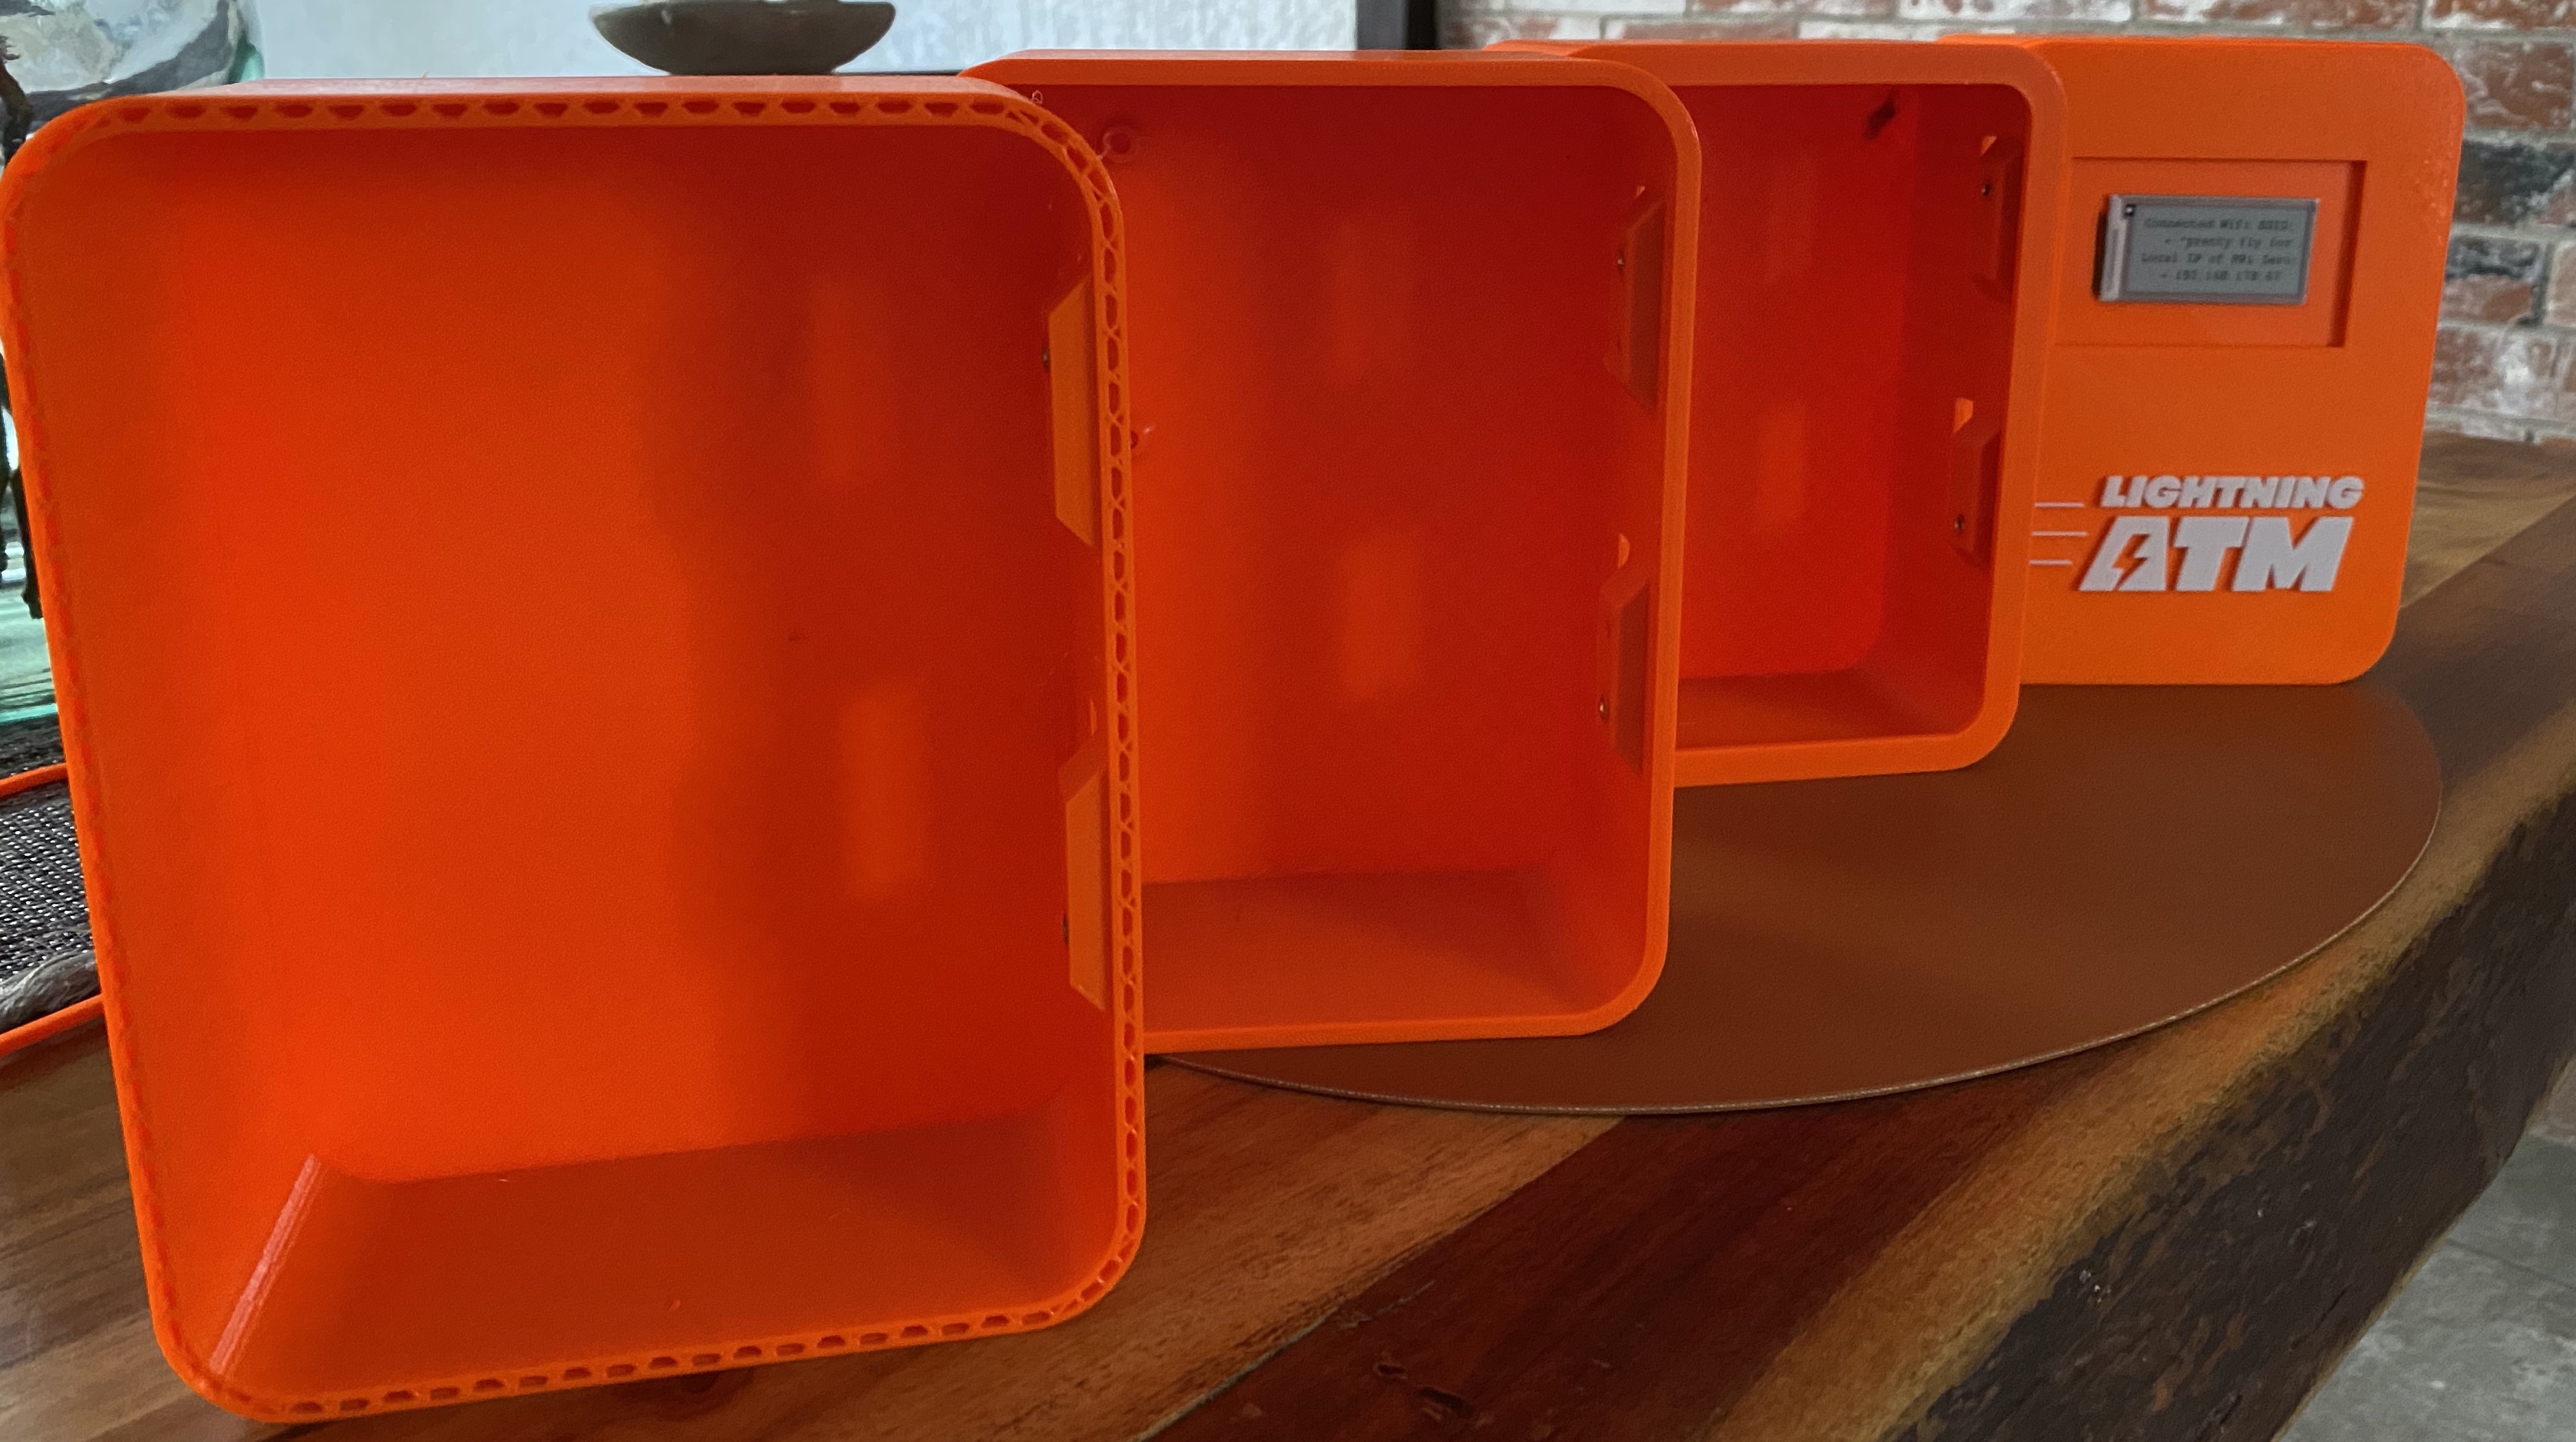
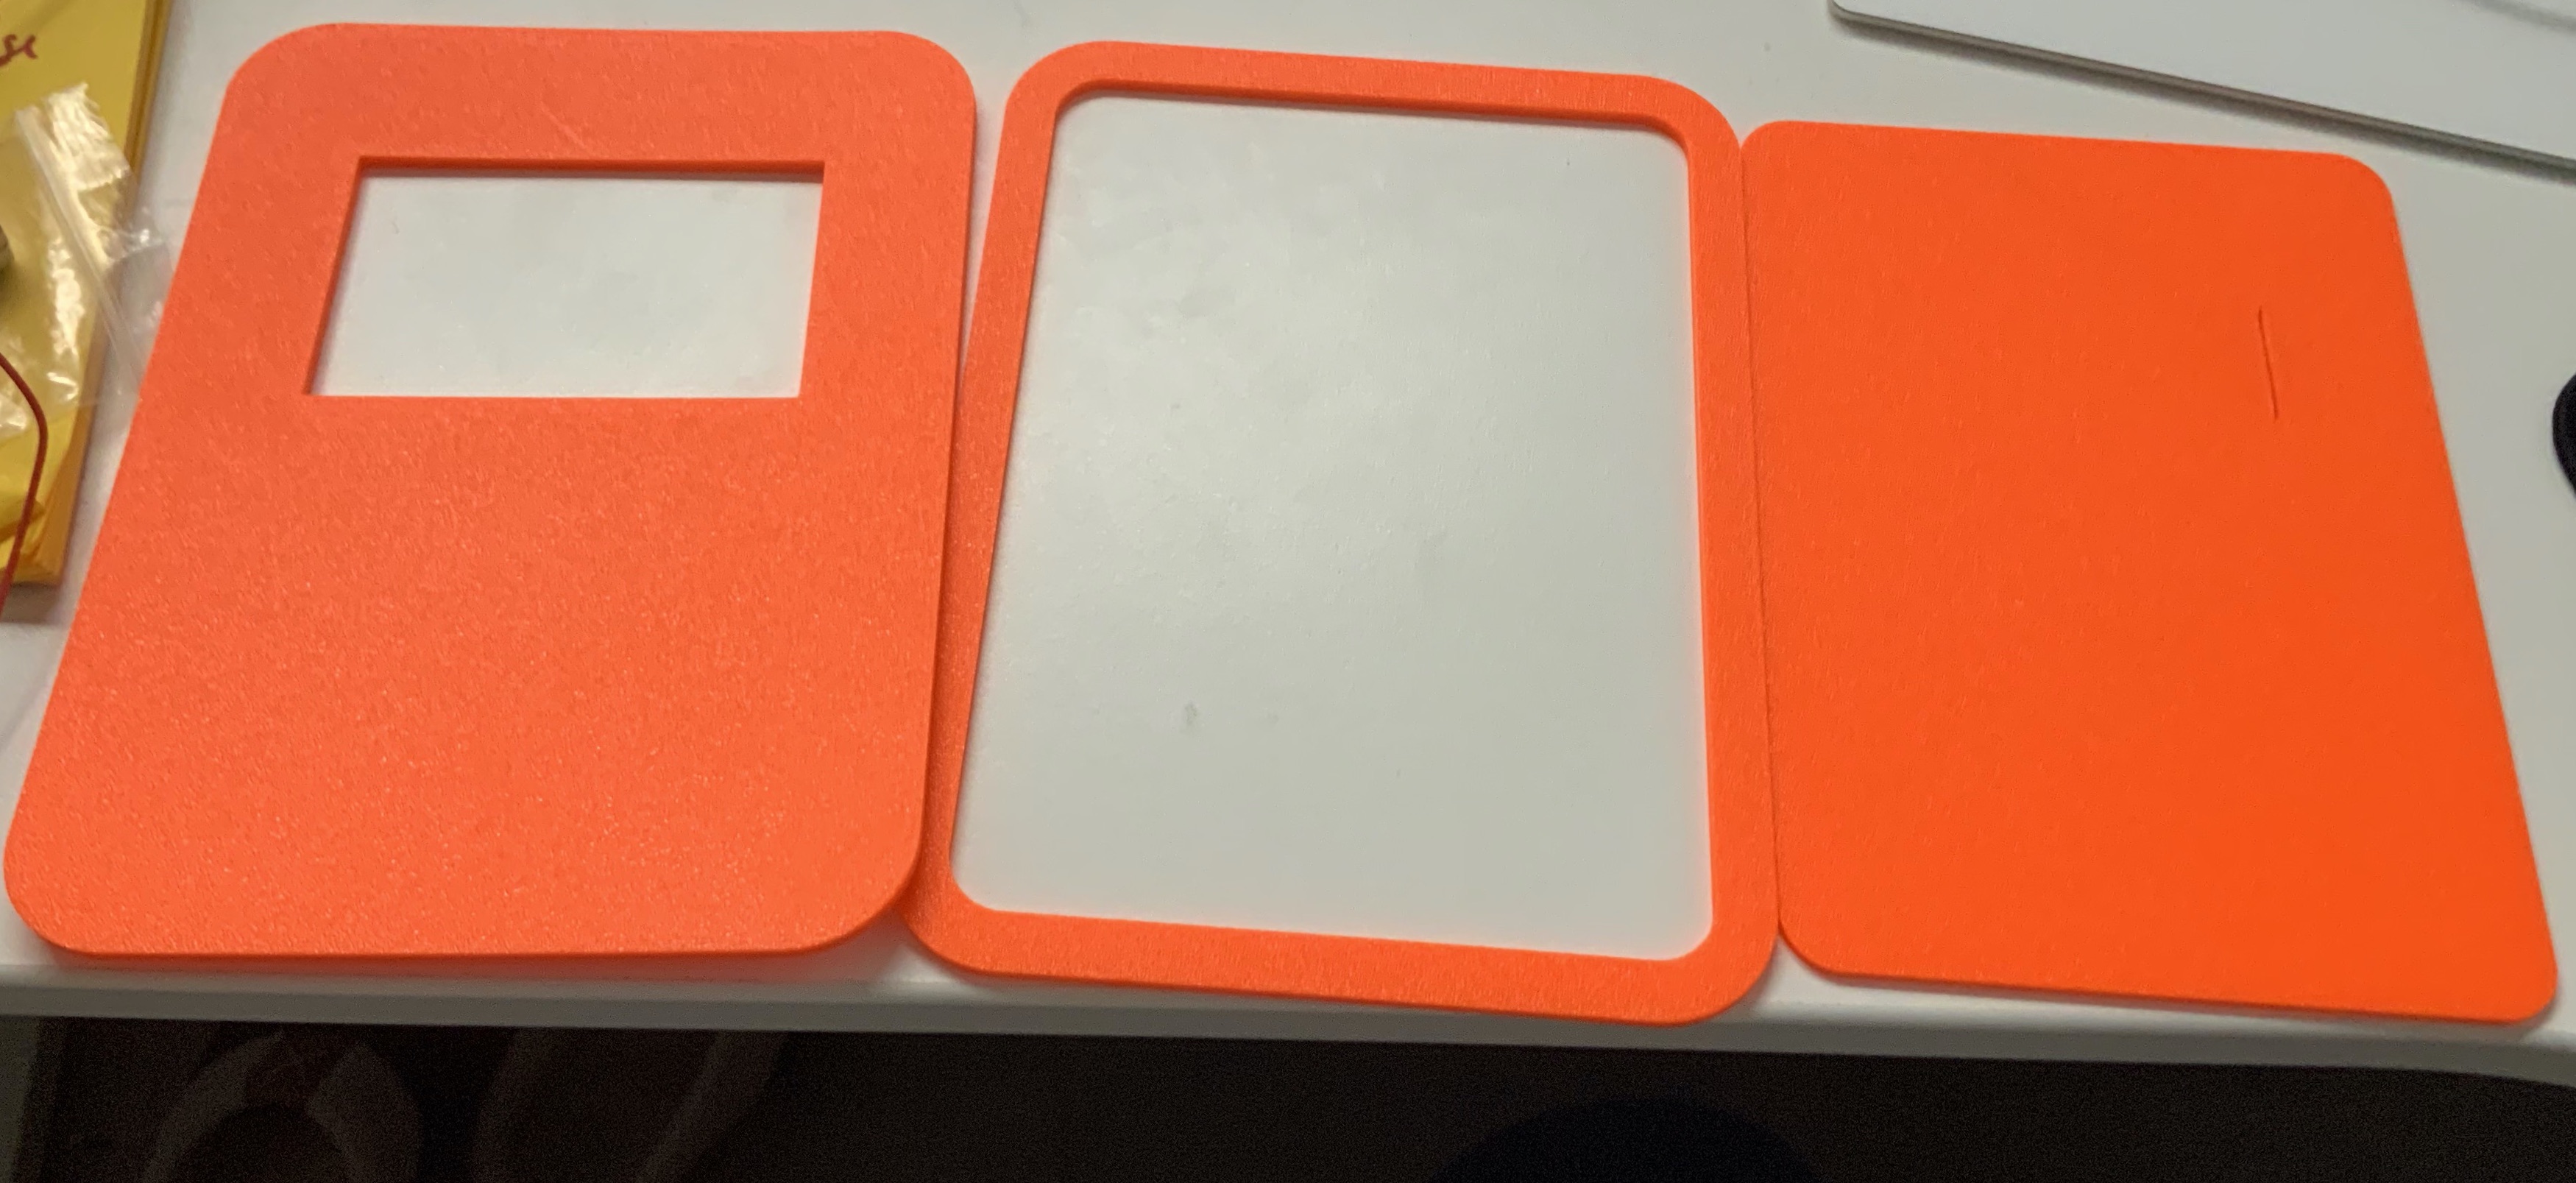
For the case needed are 3 Parts:
-
Shell
-
Back Lid
- two versions
- normal with 2mm thick plate
- thicker with 3mm thick plate
- two versions
-
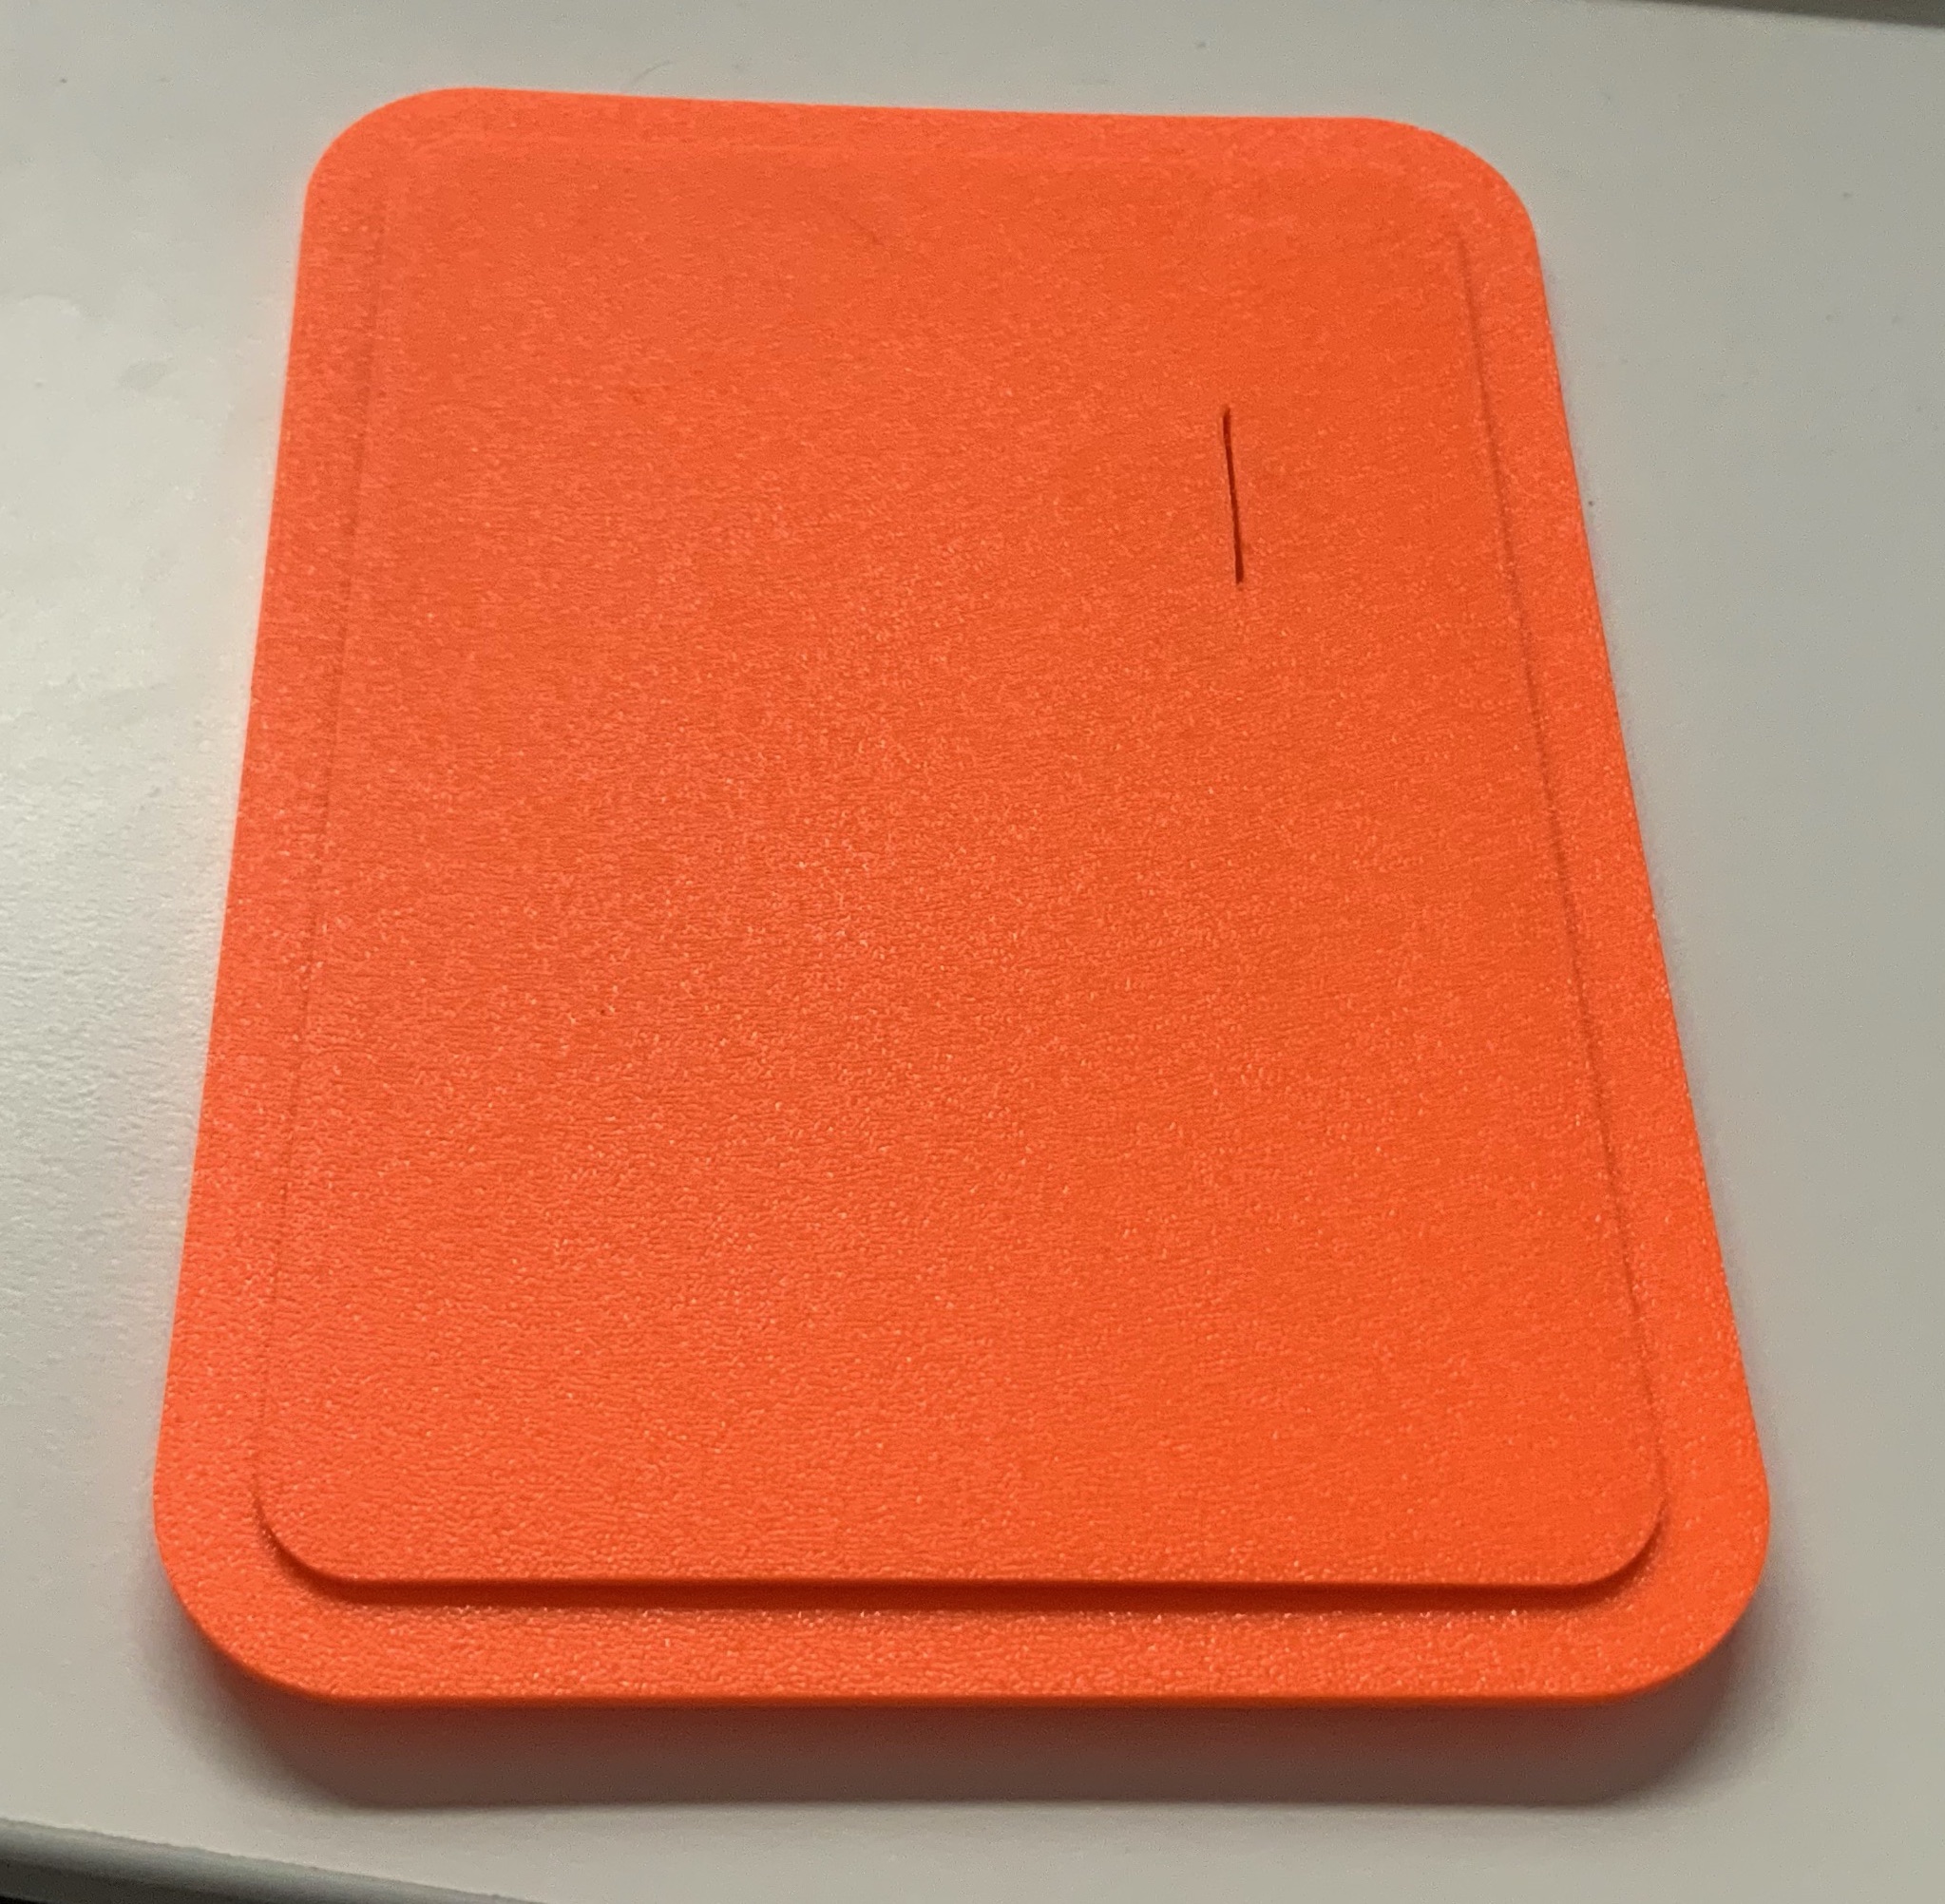
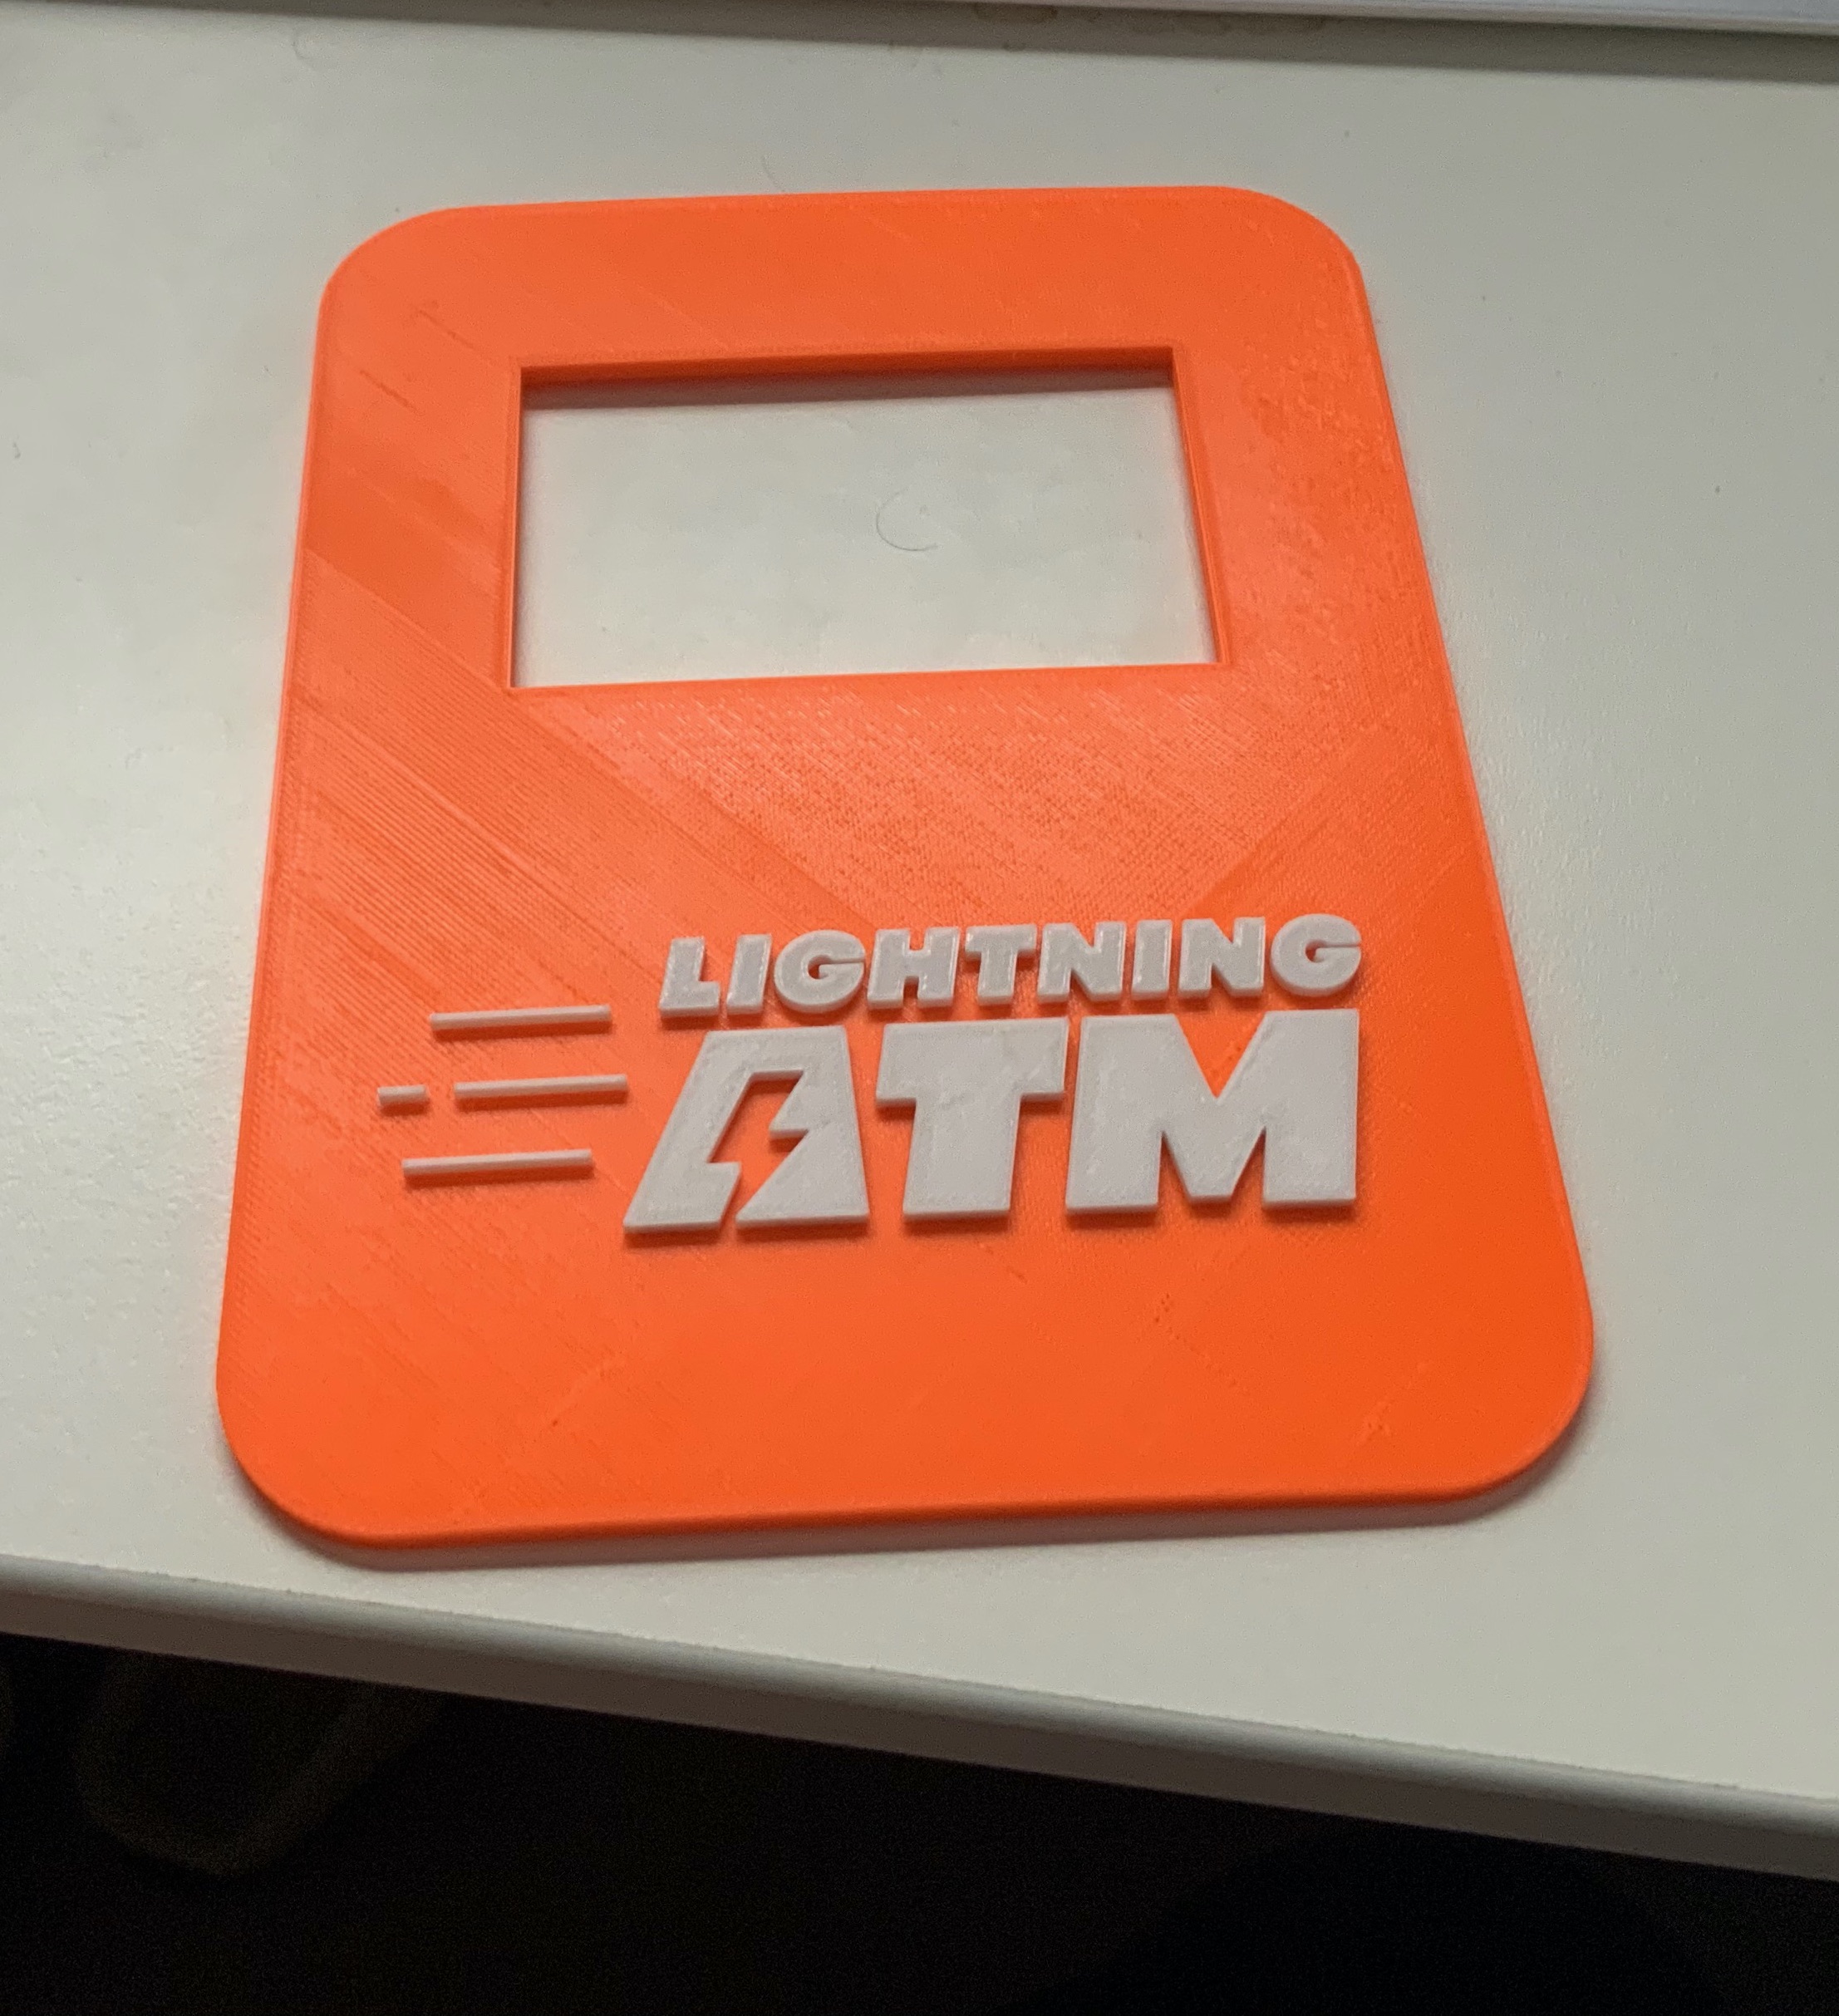
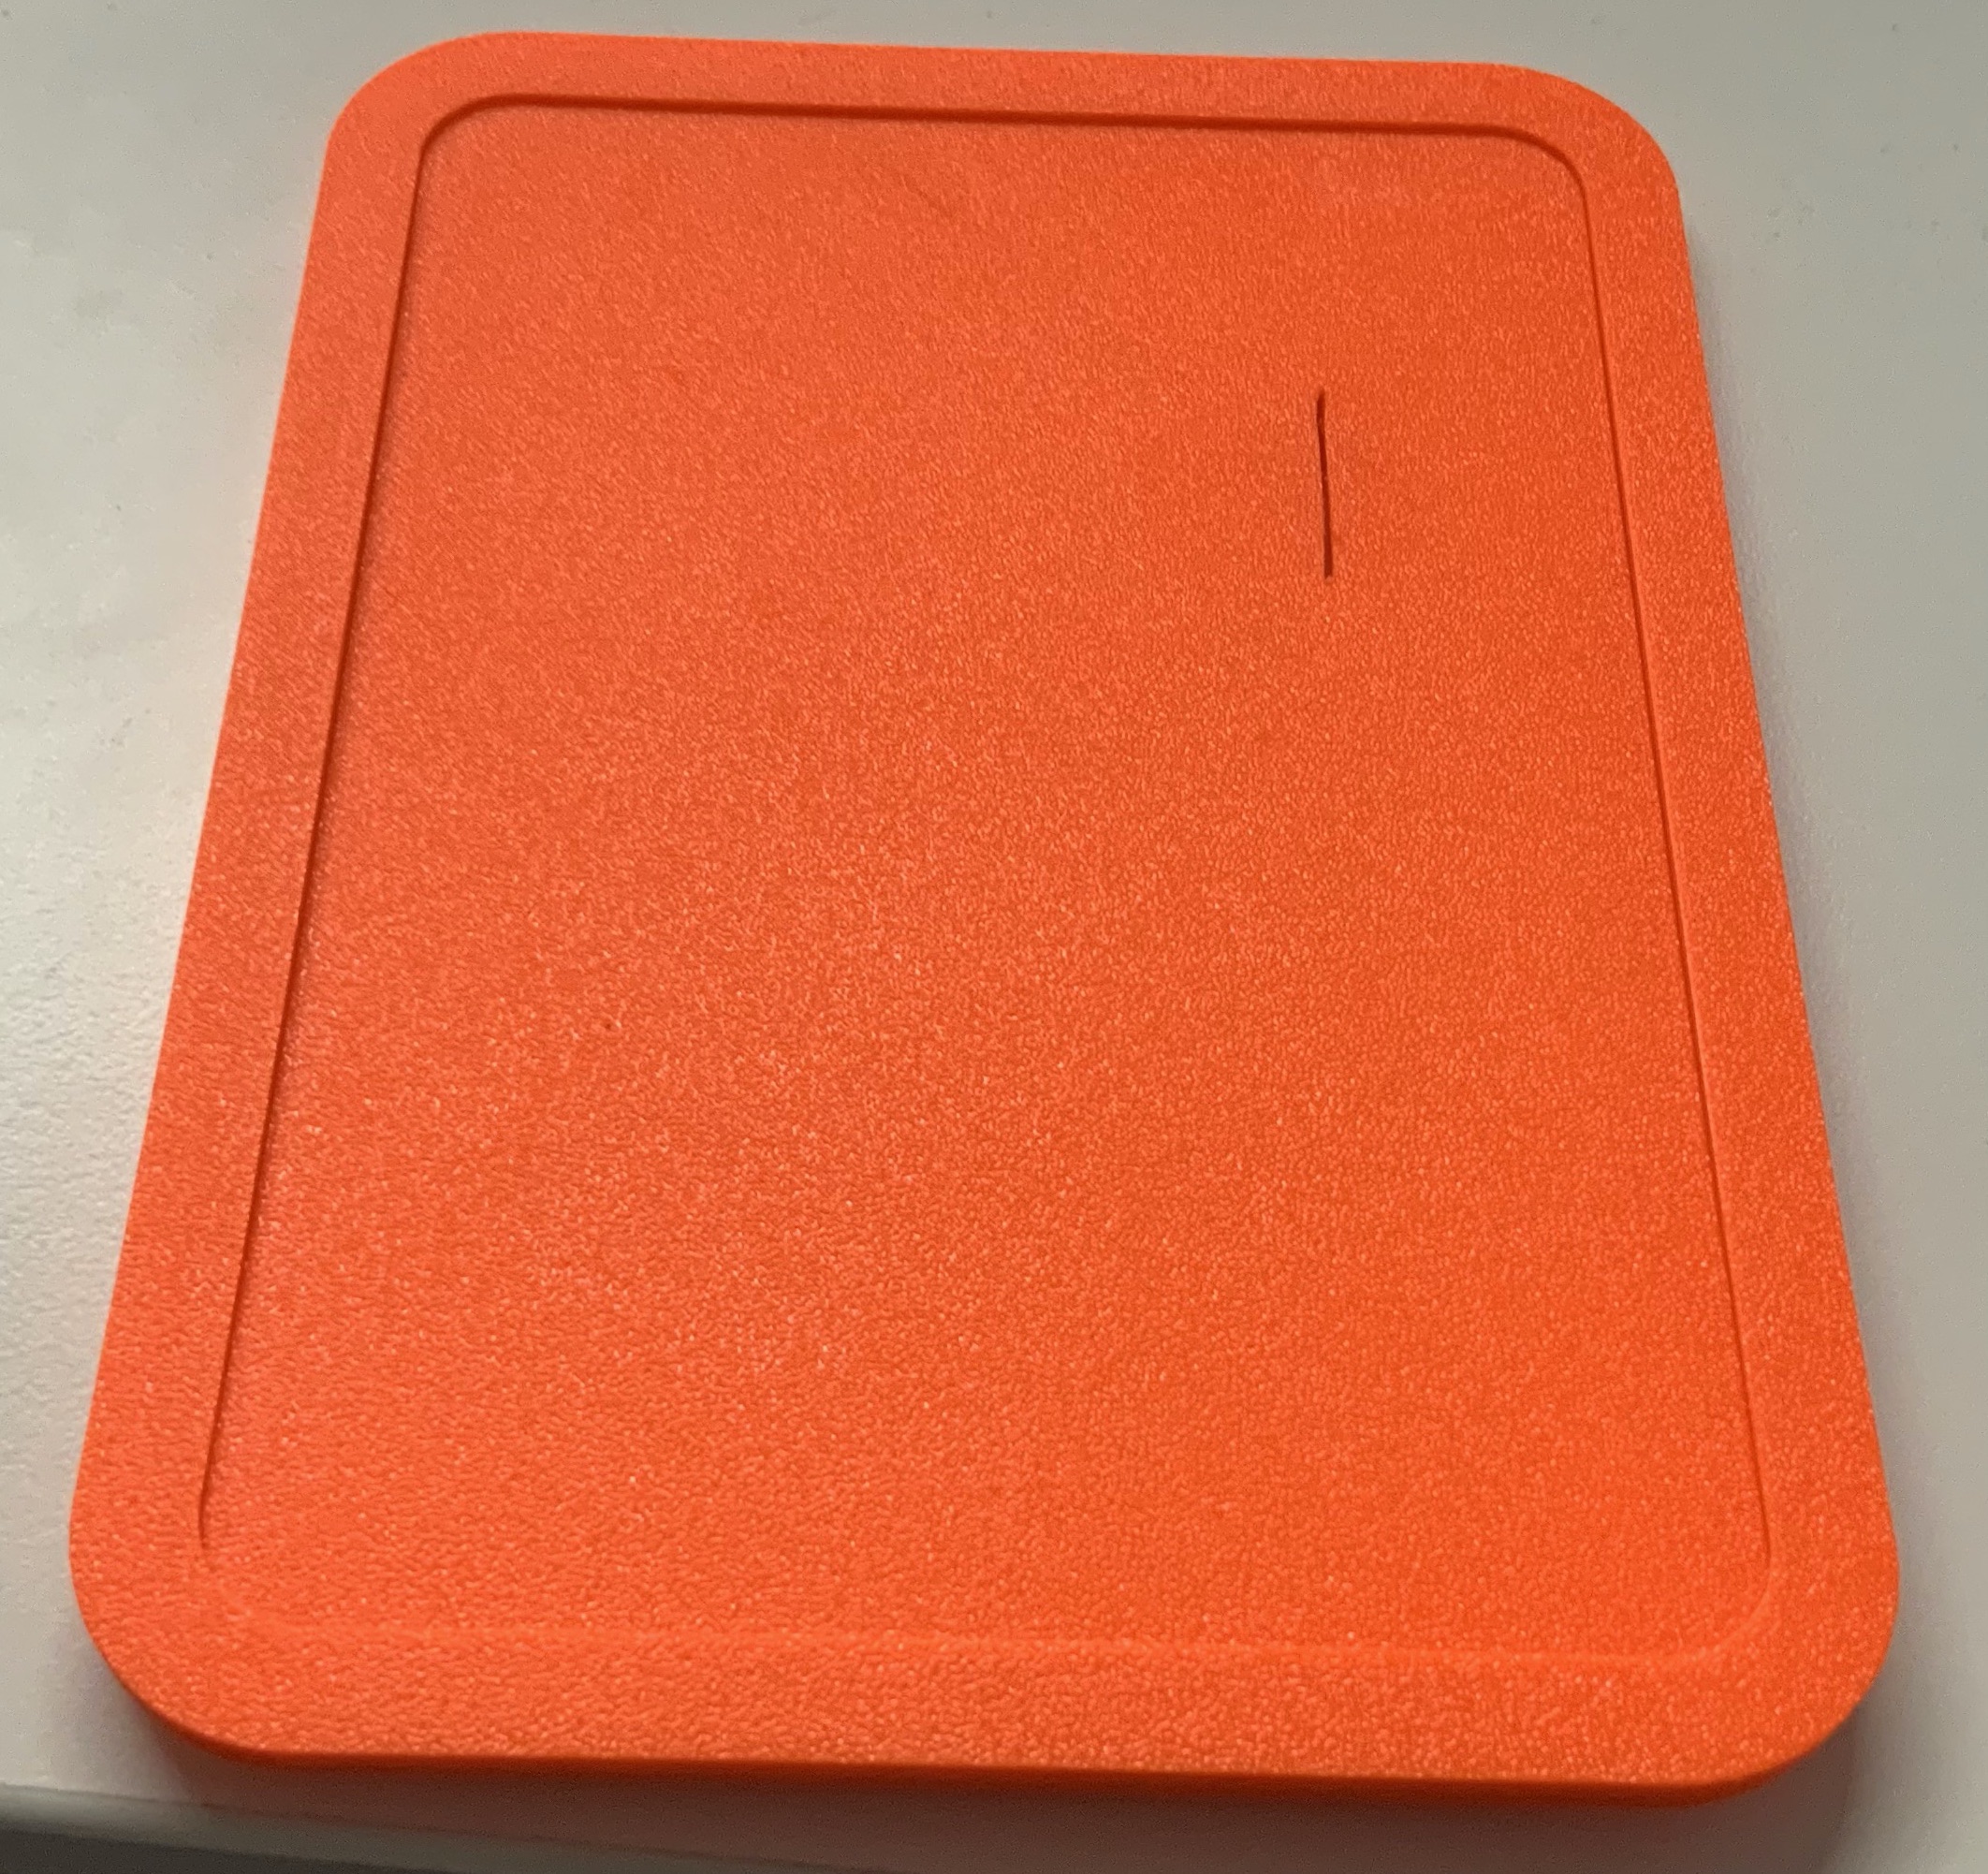
Top Lid
- there are two separate versions:
- with Lightning-Logo, for dual color print add a color change at Z 3.00 mm.
- without any logo
- with Lightning-Logo, for dual color print add a color change at Z 3.00 mm.
- there are two separate versions:
-
Mounting Rim
- optional but recommended to properly glue the Top Lid onto the Back Lid.
-
Print Shell / Back Lid / Top Lid / Mounting Rim
-
Use soldering iron to:
- Add M3 Inserts into Coin Acceptor holes
- Add M2.5 Inserts into Raspberry holes
-
If you have printed the Mounting Rim put it around the BackLid
-
put glue on the Top Lid and use something to press both together
-
this is what it should look like without the rim